Red Velvet Pound Cake (With a Cream Cheese Swirl)
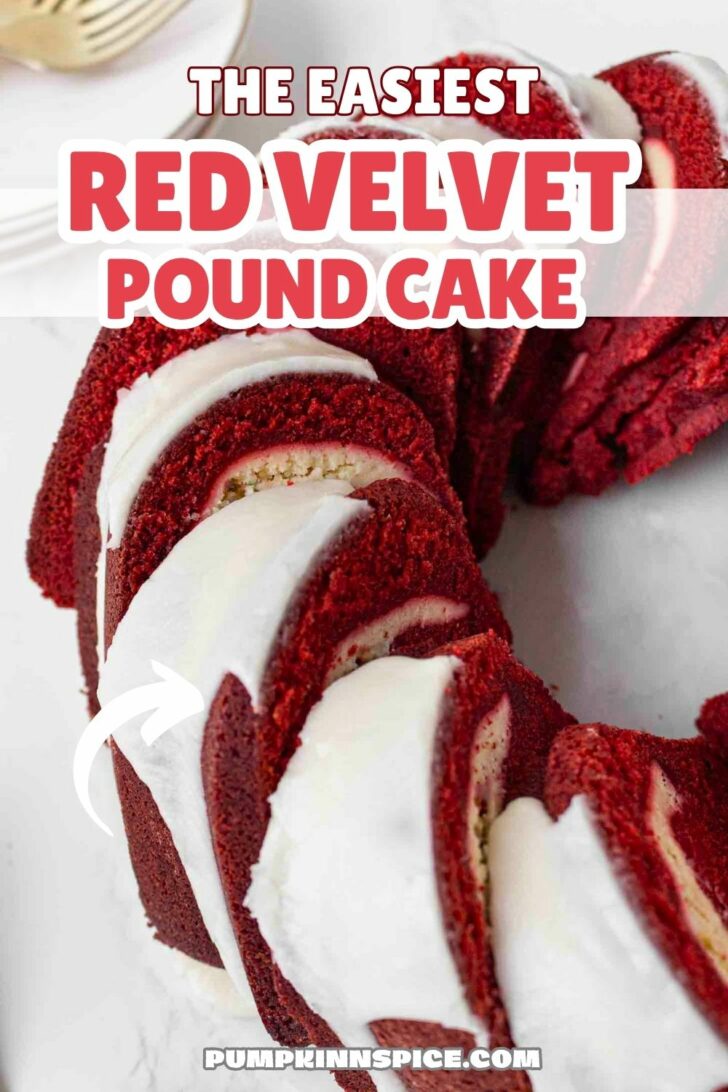
If you’re looking for an easy Red Velvet Pound Cake, this decadent dessert with a smooth cream cheese filling is a must-try. Topped with a light vanilla glaze and baked until soft and moist, it’s the perfect cake for holidays, birthdays, or any time you want a special treat!
Life gets hectic.
Between work, school runs, and family dinners, baking a dessert that feels special can sound impossible.
This red velvet cake pound cake solves that problem by delivering bakery-style results with simple ingredients and straightforward steps. And just like this eggnog pound cake, cinnamon swirl pound cake and chocolate chip pound cake, this dessert is ready in no time.
There are no layers to stack and no complicated steps are involved in this recipe. Just a rich and delicious cake with a creamy cheesecake filling that bakes in one pan.
It’s the kind of recipe that you can whip up on a Sunday afternoon without a mile-long instruction list and a sink full of dishes…which is a win-win in my book!
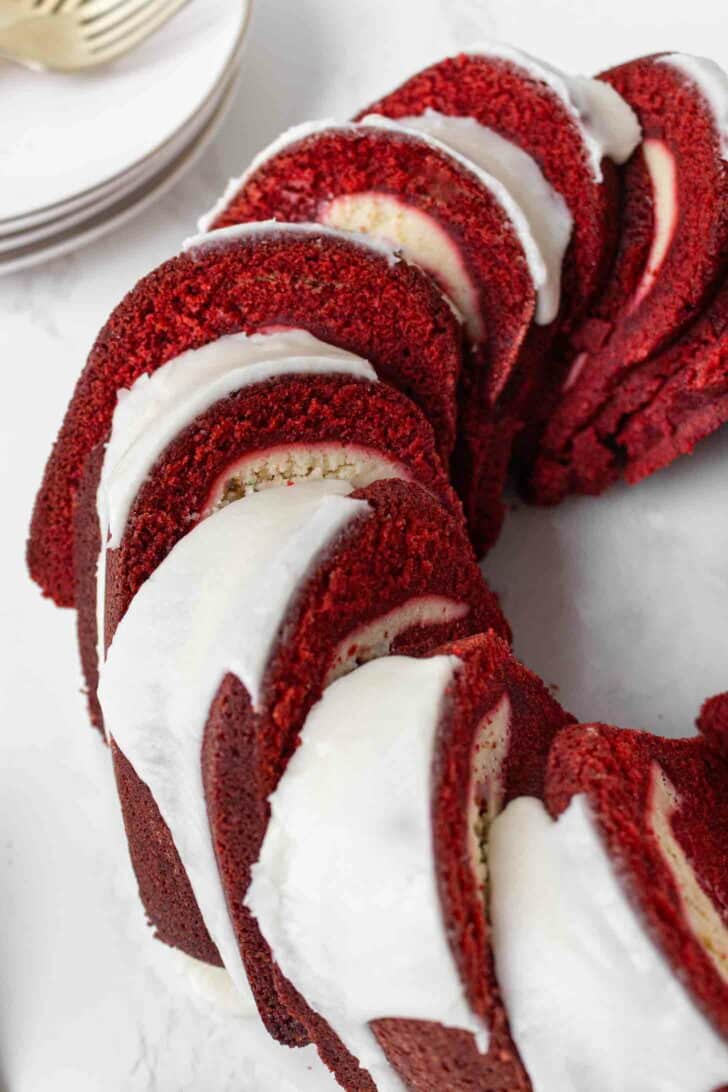
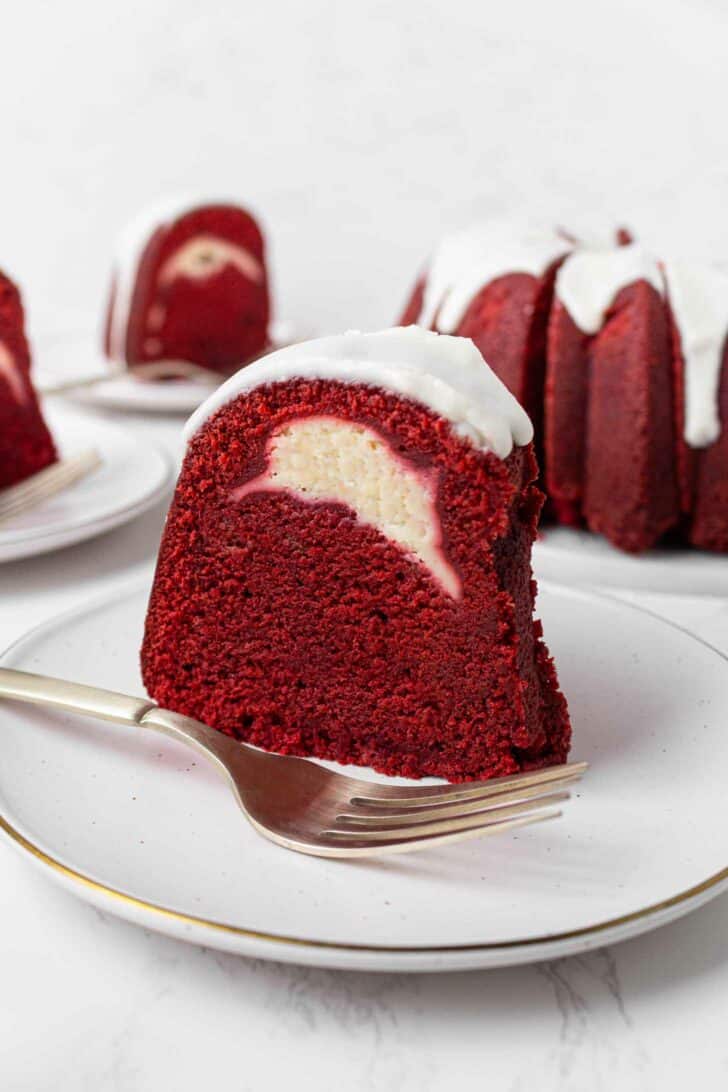
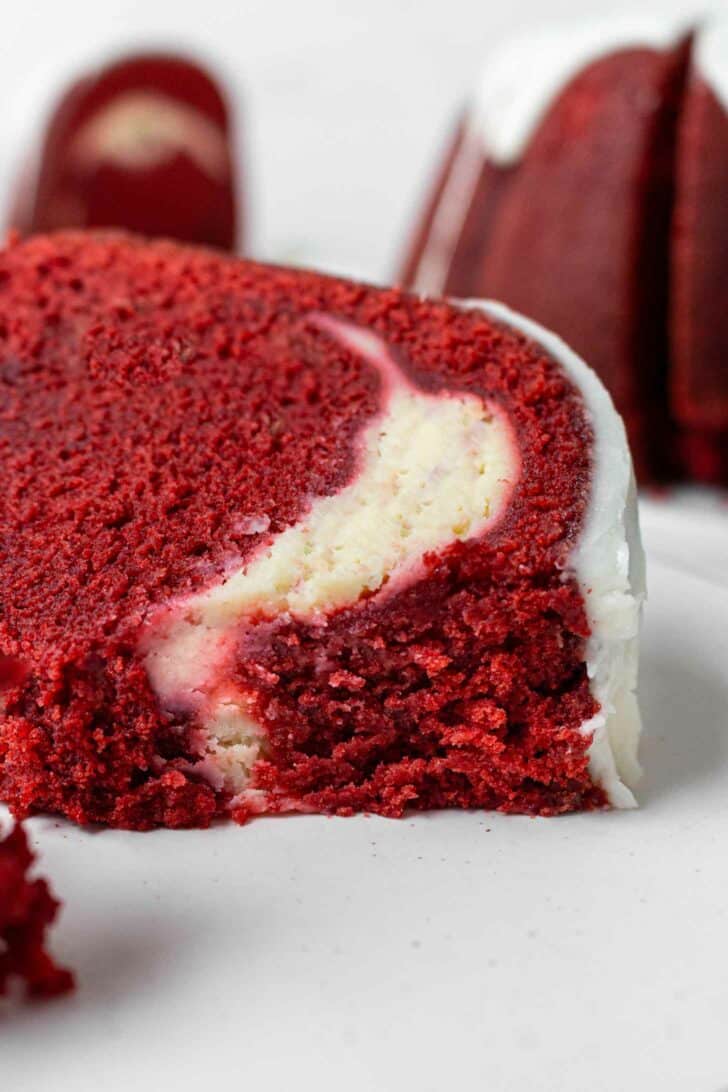
The cream cheese swirl hidden in each slice makes this cake taste extra special and extra delicious. And the signature red color and cocoa taste give this pound cake a festive look, but it’s super simple to prepare.
This recipe for red velvet pound cake stays moist for days, so it’s perfect for planning ahead. You can bake this the night before a party or family get-together and you’ll have a show-stopping dessert ready the next day without any stress. And because I tested this several times, you can be sure this cake will turn out soft, moist, and all around delicious!
Looking for more easy holiday treats? Head over to this page to see all of my seasonal recipes, like these brownie truffles, red velvet cake mix brownies and peppermint cheesecake dip!
Ingredient Notes:
- Unsalted butter: I prefer to use unsalted because you can control the amount of salt in this recipe.
- Distilled white vinegar: don’t skip this ingredient! It combines with the baking soda to create a soft and fluffy cake.
- Vanilla: while vanilla extract is perfectly fine, I love using this vanilla bean paste in place of vanilla extract in all recipes that call for this. It won’t water your batter down and this paste has real vanilla bean flecks, which you can see and taste!
- Unsweetened cocoa powder: this is the star ingredient to that classic red velvet taste.
- Buttermilk: this is another key ingredient to this recipe. The slight acidity reacts with the baking soda and vinegar to create little bubbles of carbon dioxide. This helps the cake rise evenly and maintain a soft texture.
- Red food coloring: be sure to get the liquid kind and not gel, as the gel isn’t potent enough to dye the cake red.
Do I Need to Use Liquid Food Coloring?
I’ve tested this recipe several times with liquid and gel food coloring and liquid gives you the vibrant red velvet color!
What is the Purpose of the Vinegar?
The vinegar reacts with the baking soda in the recipe to make a soft and tender cake.
How to Make Old-Fashioned Red Velvet Pound Cake:
While this cake may seem a bit intimidating, I can assure that it’s actually quite easy and the taste is worth it! Be sure to check out the recipe card towards the bottom of the page for full list of ingredients and instructions.
- In a large bowl: cream the butter and sugar until light and fluffy. Add in the eggs, one at a time, followed by the vinegar and vanilla.
- In a medium bowl: whisk the flour, cocoa powder, salt, and baking soda. Add the flour mixture to the butter mixture, alternating with the buttermilk.
- Add: stir in the red food coloring and spread half the batter into the bottom of the pan.
- For the filling: beat the cream cheese and sugar until smooth. Add egg and vanilla and beat until combined. Spoon the filling on top of the batter and then spread the remaining batter on top.
- Bake: until a toothpick inserted into the center of cake comes out mostly clean.
Can I Make This in a Loaf Pan?
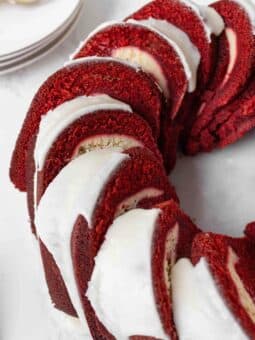
You can, but a bundt cake pan works best. If using a loaf pan, you will need to use two and the cook time will vary.
How to Store:
Because of the cheesecake filling, this cake should be stored in the refrigerator in an airtight container or bag for up to 3 days.
To freeze: wrap the cooled cake tightly in plastic wrap and then in a layer of aluminum foil. Place in a freezer-safe container or bag in the freezer for up to 3 months. When ready to serve, let thaw completely in the refrigerator.
Make-Ahead Tip:
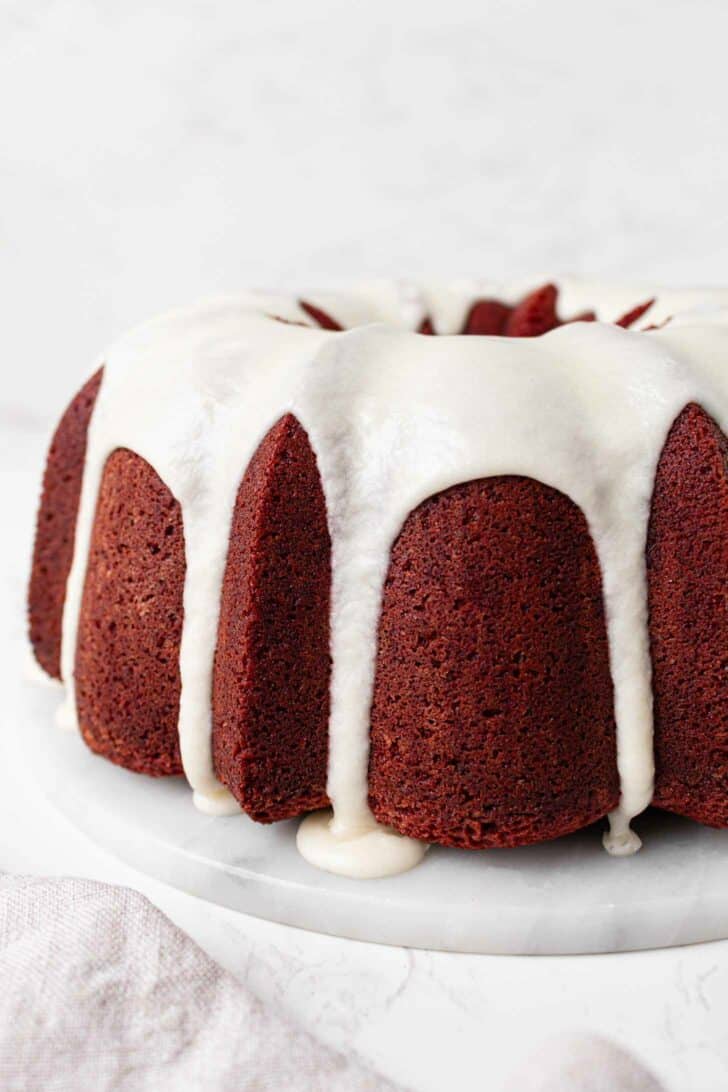
This easy red velvet pound cake recipe is great to make in advance! You can bake this up to one day in advance and then add the glaze just before serving. If you want to skip the glaze entirely, add a dusting of powdered sugar for a no-fuss dessert!
Can I Make This Without the Filling?
Absolutely! Skip the cream cheese part and just bake as directed.
How Can I Decorate This for Christmas or Valentine’s Day?
I love to use festive sprinkles, such as red and green jimmies for Christmas or red, pink, and white ones for Valentine’s Day. You could also add red and green chocolate chips or M&Ms (or red and pink ones) to the batter or sprinkle on top of the glaze just before serving!
Tips and Tricks:
- Grease and flour the pan: red velvet cake batter has a tendency to stick, so be sure to use cooking spray and sprinkle the pan with flour before adding the batter.
- Use room temperature ingredients: room temperature butter, eggs, and cream cheese blend a bit more smoothly, so if you can, let the ingredients sit out a bit.
- Measure your flour correctly: be sure to measure the flour correctly by spooning it into your measuring cup and then leveling off. Packing it in the measuring cup can often cause too much flour, which will make the cake dense.
- Don’t overmix the batter: once the flour is just incorporated, stop mixing, as we want a soft and fluffy texture.
- Cool completely before glazing: this helps prevent the glaze from sliding off or becoming too thin.

More Red Velvet Recipes You’ll Love:
- Red Velvet Scones
- Red Velvet Skillet Cookie
- Red Velvet French Toast
- Red Velvet Cake Mix Cookies
- Red Velvet Peppermint Cupcakes
Red Velvet Pound Cake
Ingredients
- 1½ cups unsalted butter (softened to room temperature)
- 3 cups granulated sugar
- 5 large eggs
- 1 teaspoon distilled white vinegar
- 2 teaspoons vanilla bean paste (or vanilla extract)
- 3 cups all-purpose flour
- ⅓ cup unsweetened cocoa powder
- ½ teaspoon salt
- ¼ teaspoon baking soda
- 1 cup whole buttermilk
- 1 (1 ounce) bottle liquid red food coloring (see note below)
- 1 (8 ounce) package cream cheese (softened to room temperature)
- ⅓ cup granulated sugar
- 1 large egg
- 2 teaspoons vanilla bean paste (or vanilla extract)
- 1 cup powdered sugar
- 2 tablespoons heavy whipping cream
- ½ teaspoon vanilla bean paste (or vanilla extract)
Method
- Preheat the oven to 350℉. Grease a 12-15 cup bundt cake pan with cooking spray and then dust with flour. Set aside.
- In a large bowl, beat the butter and sugar with an electric hand mixer or stand mixer with fitted paddle attachment until light and fluffy, about 3-4 minutes, stopping to scrape the sides of the bowl. Add eggs, one at a time, beating well after each addition. Beat in vinegar and vanilla.
- In a medium bowl, whisk together flour, cocoa powder, salt, and baking soda. Gradually add the flour mixture to the butter mixture and alternate with buttermilk, beginning and ending with the flour mixture, beating until just combined after each addition.
- Stir in food coloring and spread about ½ of the mixture into the bottom of prepared pan.
- For the filling: in another medium bowl, beat the cream cheese and sugar with a mixer at medium speed until smooth. Add egg and vanilla, beating until well combined. Spoon the filling on top of the batter in pan. Spread remaining batter onto the filling, making sure to cover it completely.
- Bake until a toothpick inserted into the center of cake comes out mostly clean, about 60-75 minutes. Let cool in pan for 10 minutes, then remove from pan and let cool completely on a wire rack.
- In a small bowl, whisk the powdered sugar, heavy cream, and vanilla until smooth. Drizzle or spread onto cooled cake.
Notes
- Liquid food coloring will turn this cake a vibrant, ‘red velvet’ color. Gel food coloring will not work, as it turns the cake a brownish color.
- Store leftover cake in an airtight container or bag in the refrigerator for up to 3 days.
- To freeze: wrap the cooled cake tightly in plastic wrap and then in a layer of aluminum foil. Place in a freezer-safe container or bag in the freezer for up to 3 months. When ready to serve, let thaw completely in the refrigerator.
- Recipe from Paula Deen’s Holiday Baking magazine – 2017.

