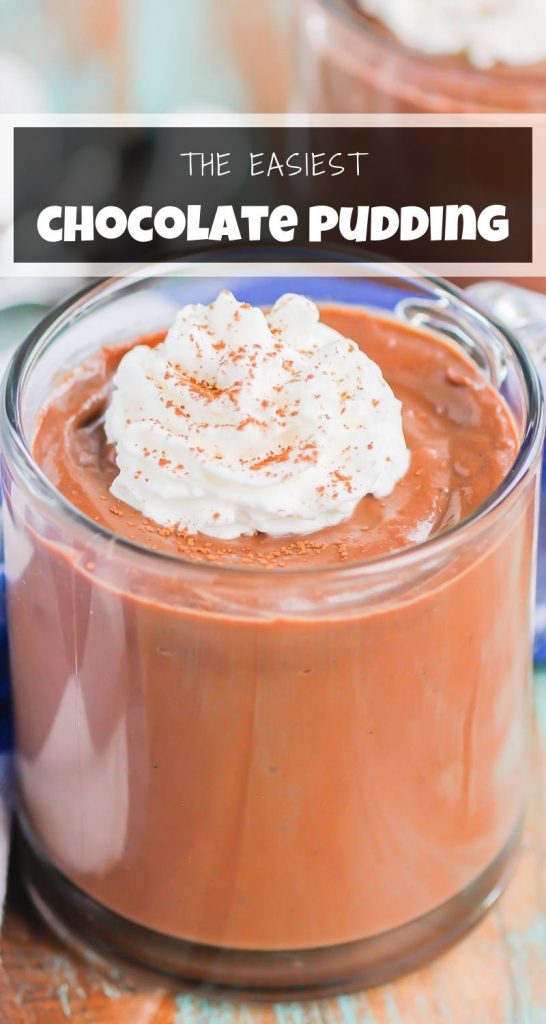
Easy Chocolate Pudding
This post contains affiliate links.
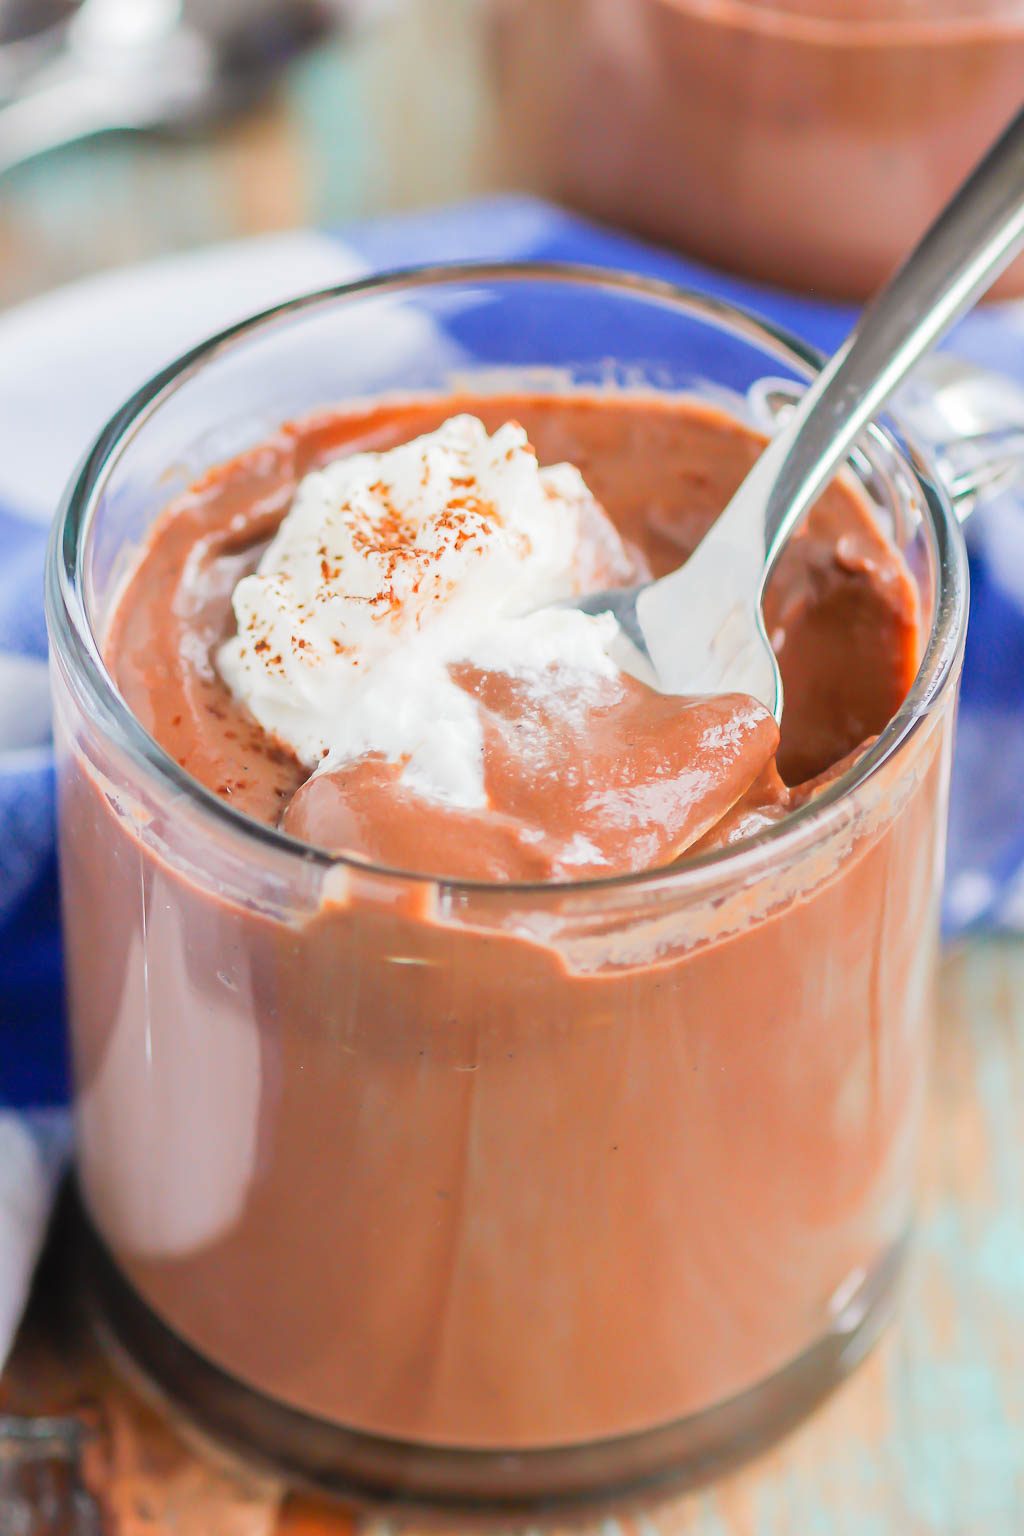
Making Chocolate Pudding From Scratch is easier than you’d think! Thick, creamy, and extra chocolatey, this classic dessert will be a favorite for years to come!
Chocolate pudding is one of those treats that reminds me of my childhood. Such an easy dessert…just open the box, add some milk, and whisk away. Within minutes, creamy pudding appeared. It was magical!
And I’m not ashamed to admit that I still make the boxed kind every once in a while for the hubster and I. It’s just so convenient for when you get a craving for chocolate.
But, I have to say that once I tried making this homemade chocolate pudding, I was instantly hooked.
Now, it’s not the first time that I’ve made homemade pudding, but, it’s been a while. So when I got a taste for some really good pudding, I put my chef’s hat on and got to work.
There is a little bit more hand power that goes into this chocolate pudding recipe, but trust me, it’s worth it. Once you taste the rich flavors and experience that thick and creamy texture, you’ll never go back to the boxed pudding mix.
Ingredients in Homemade Chocolate Pudding
Just seven ingredients, and no eggs are required to make this decadent homemade chocolate pudding!
- Granulated sugar
- Unsweetened cocoa powder
- Cornstarch
- Salt
- Milk (whole or 2%)
- Unsalted butter
- Vanilla bean paste (or extract)
How to Make Chocolate Pudding From Scratch
This is such an easy chocolate pudding recipe to make, but it does require some patience. Keep reading for all my tips and tricks!
- In a medium saucepan, whisk together some sugar, unsweetened cocoa powder, cornstarch and salt.
- While whisking continuously, slowly add in the milk until combined.
- Turn the heat to low and whisk until the mixture thickens and begins to bubble up and boil. This is where you have to be patient. You don’t want to turn the heat too high, as the cornstarch will boil before it cooks to thicken the pudding. You can turn the heat up slightly, but don’t do so too fast. It will take about 10 minutes for the mixture to bubble up.
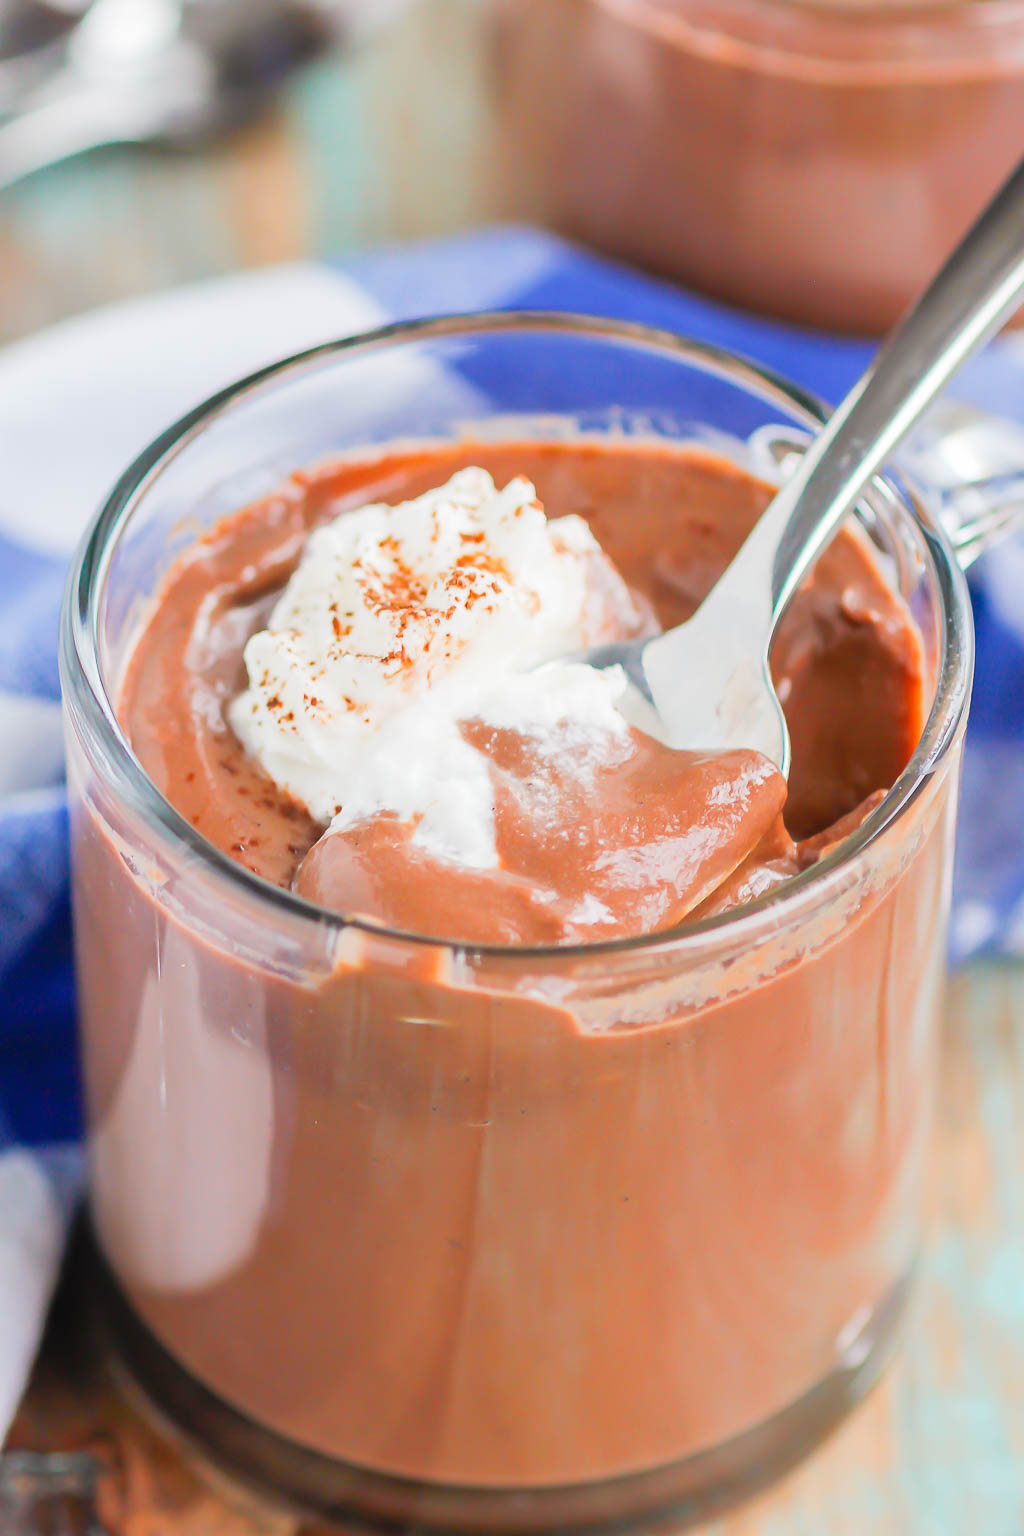
- Once that happens, continue whisking for 1-2 minutes. You want the mixture to be thick enough to coat the back of a spoon without seeing through it. As the pudding chills, it will continue to thicken.
- Remove from heat and stir in butter and vanilla. Transfer to serving dishes, if desired, and chill for at least 4 hours, or until firm.
Tips for the Best Chocolate Pudding
Like I mentioned above, this recipe calls for patience. You don’t want to rush through the process, as you will end up with runny pudding that just won’t firm up in the fridge. Trust me, it took me more than five times to get this right, so you can learn from my mistakes.
It’s best to have your ingredients ready to go and within arm’s reach. After the pudding comes off the stove, you want to stir in the butter and vanilla immediately so the butter melts. Why add butter? It gives the pudding an added richness. Don’t skip this step!
I cannot stress this enough…don’t crank the heat up when cooking chocolate pudding from scratch. That was my first mistake when attempting thick chocolate pudding. If you have the heat on medium or high, it will boil the mixture before the cornstarch gets a chance to cook. And when that happens, the pudding will remain soupy and won’t firm up no matter what you do. And no one wants soupy pudding!
It’s best to cook this pudding on low heat to create a thick and creamy consistency. Yes, it will take longer, but the results are a silky and creamy pudding.
Cornstarch is essential in this pudding recipe. It’s what helps create that thick consistency which we all love. However, cornstarch can cause small lumps, so it’s best to pour the pudding through a mesh strainer before transferring to a serving dish.
How do you know when your pudding is cooked? It should coat the back of a metal spoon without dripping, and you shouldn’t be able to see the metal through the pudding.
Let the pudding chill for at least four hours before digging in. While you can eat it beforehand, it may still be a little runny in the center. Leave it in the fridge to firm up completely and get that thick texture.
Why Is My Pudding Grainy?
Most likely because the sugar didn’t dissolve completely when heating. Remember, we are cooking this pudding low and slow, while whisking continuously, so that should help with making sure your pudding is smooth and silky.
How Long Does Homemade Pudding Last?
You can store this pudding in the refrigerator for up to five days. I like to cover it with cling wrap or spoon into a glass container for convenience.
What to Serve with Homemade Chocolate Pudding
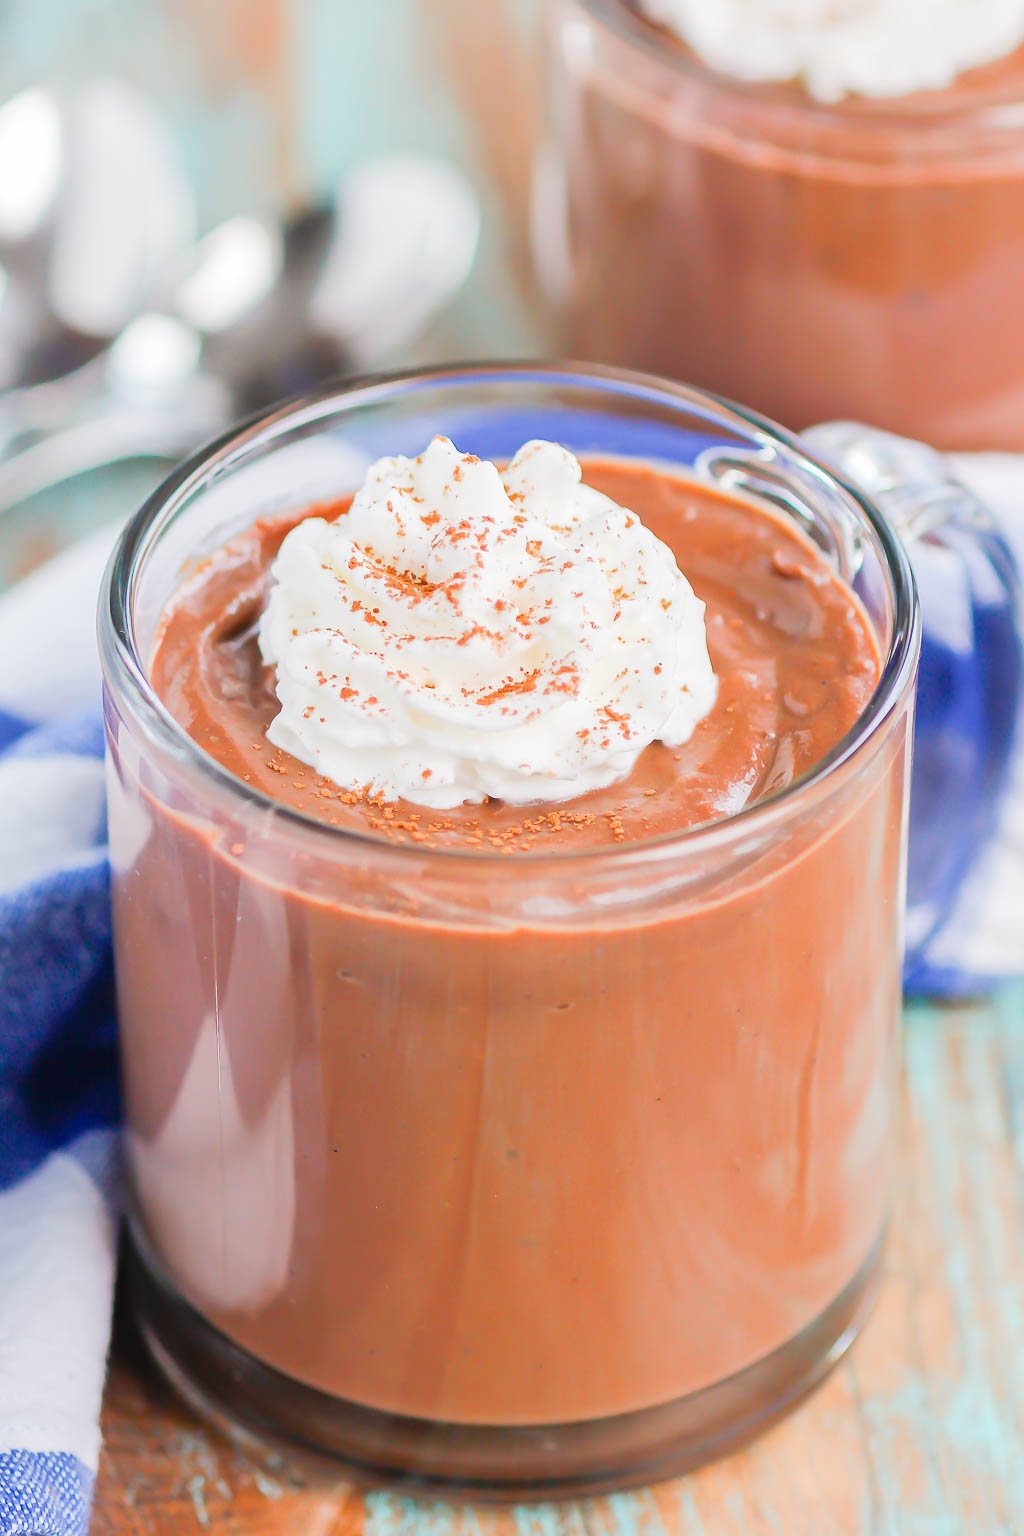
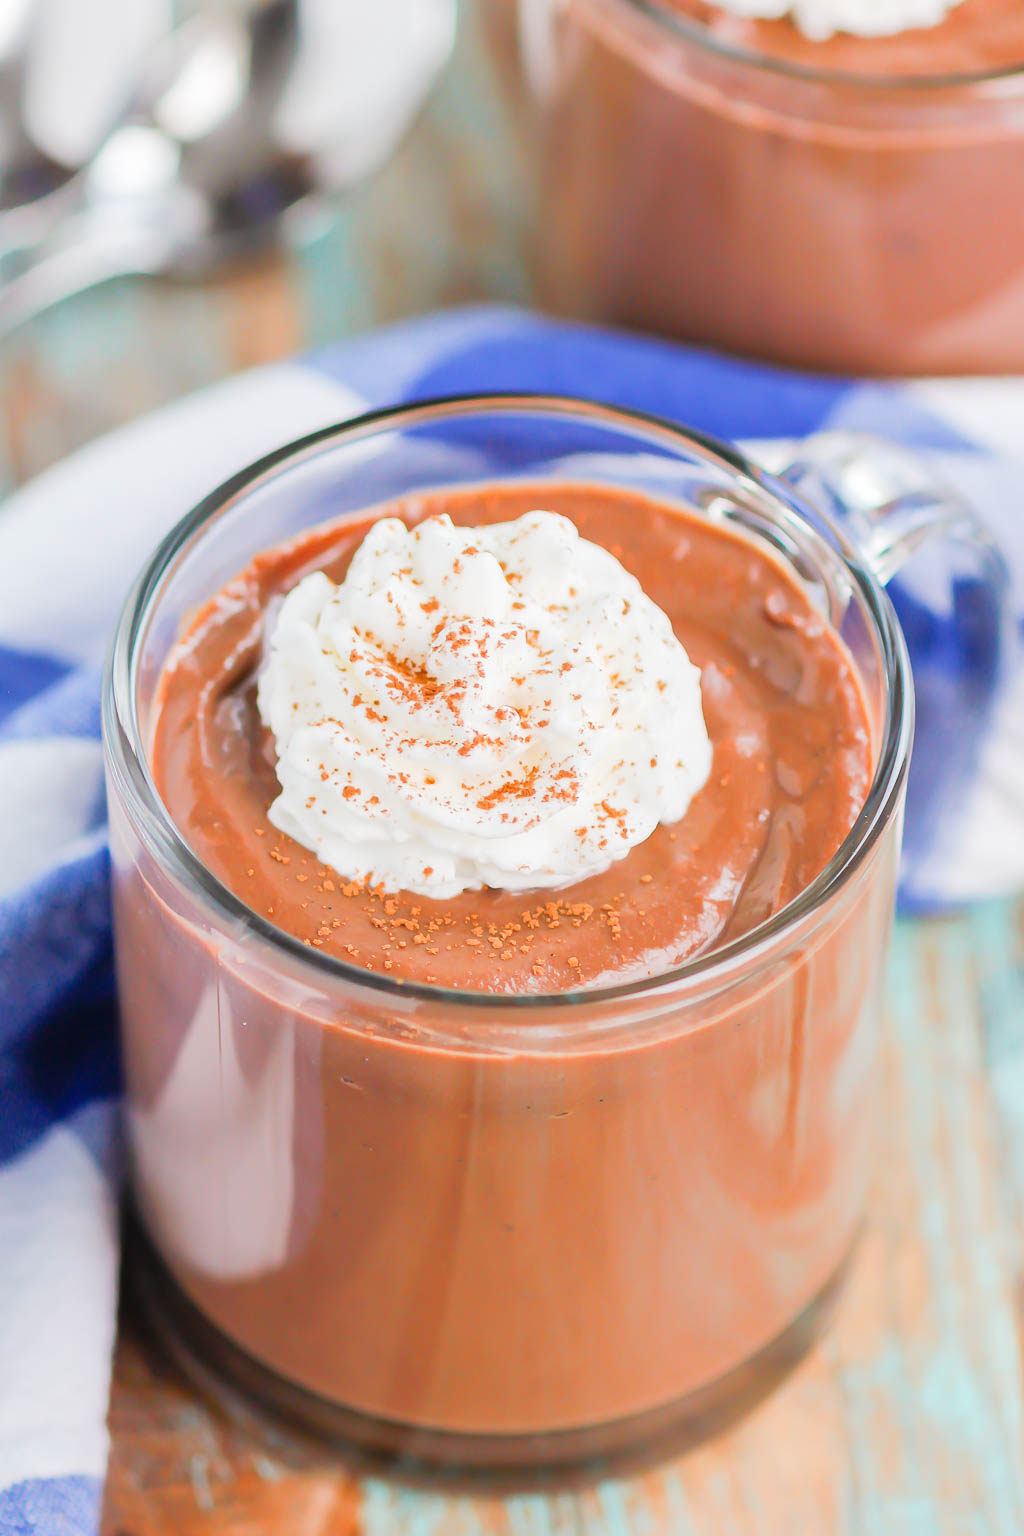
- Whipped cream! I love to spoon a dollop of homemade whipped cream, or even the canned kind, on top.
- Vanilla ice cream! If you’re feeling extra indulgent, a scoop of ice cream will hit the spot!
- Fresh strawberries! If you need a little fruit alongside your chocolate, strawberries are the perfect side.
Your chocolate pudding from scratch is just a few ingredients away! It’ll bring back those childhood memories and hit the spot…trust me!
Looking for more chocolate desserts? I’ve got you covered!
- Flourless Chocolate Cake
- Chocolate Lava Mug Cake
- Double Chocolate Cobbler
- Chocolate Cupcakes with Peanut Butter Frosting
- Chocolate-Covered Pound Cake Bites

Chocolate Pudding From Scratch
Ingredients
- 1 cup granulated sugar
- ½ cup unsweetened cocoa powder
- ¼ cup cornstarch
- ½ teaspoon salt
- 4¼ cups milk, (whole or 2%)
- 3 tablespoons unsalted butter
- 2 teaspoons vanilla bean paste, (or extract)
Equipment
Instructions
- In a medium saucepan, whisk sugar, unsweetened cocoa powder, cornstarch and salt. While whisking continuously, slowly add milk until combined.
- Turn the heat to medium-low and whisk frequently until the mixture thickens and begins to bubble up and boil. This is where you have to be patient. You don't want to turn the heat too high, as the cornstarch will boil before it cooks, and then it won't thicken the pudding. You can turn the heat up slightly, but don't do so too fast. It will take about 10 minutes (or more, depending on your stove) for the mixture to bubble up.
- Once the mixture bubbles up like lava, continue whisking for 1-2 minutes. You want the mixture to be thick enough to coat the back of a metal spoon without seeing through it. As the pudding chills, it will continue to thicken.
- Remove from heat and immediately add butter and vanilla and stir until butter is completely melted. If there are lumps in the pudding from the cornstarch, that is normal. Pour the pudding through a mesh strainer before transferring to serving dish(es).
- Transfer to serving dishes (or one big bowl) and cover the top of pudding with cling wrap (put the wrap directly on the surface of the pudding so a film doesn't form).
- Chill for at least 4 hours, or until firm. Serve with whipped cream, if desired.
Notes
- See my tips and tricks for making this easy chocolate pudding above the recipe box.

