Eggless Pumpkin Pie
This Eggless Pumpkin Pie recipe is smooth, creamy, and made without eggs. With just six ingredients, the cozy flavors result in delicious pumpkin pie that’s perfect for the holiday season!
I’ve had those moments: ready to bake, pie crust prepped, pumpkin puree on deck… and not an egg in sight.
Whether you’ve run out of eggs, have an allergy in the family, or just like baking on your own delicious terms, this eggless pumpkin pie swoops in to save the day.
It’s creamy, cozy, full of spice, and honestly, no one even misses the eggs!
This pie works with whatever crust you’ve got on hand. I’ve used both store-bought and homemade, and they are equally delightful.
This dessert is perfect for Thanksgiving, potlucks, or a lazy Sunday when the leaves are falling and you’re craving a slice of something sweet and spiced.
And if you’re on the hunt for more pumpkin desserts, these mini pumpkin pies, pumpkin pie bars, and pumpkin apple muffins are a must-make every year!
Want even more deliciousness? Check out my pumpkin category for savory and sweet eats!
Ingredients:
Using sweetened condensed milk and cornstarch, this pie skips the eggs without sacrificing texture or taste. With just few simple ingredients, it’s an easy way to enjoy that familiar pumpkin spice flavor with a smooth, custard-like filling that sets up beautifully every time.
- Refrigerated pie crust
- Sweetened condensed milk
- Canned pure pumpkin (not pumpkin pie filling)
- Cornstarch
- Pumpkin pie spice
- Vanilla

How to Make This Easy Egg-Free Pumpkin Pie Recipe:
I used a store-bought pie crust and canned pumpkin for convenience, but you can always upgrade with homemade versions if you prefer. Be sure to check out the recipe card below for the full ingredients, instructions, and baking tips!
1. To prepare the refrigerated pie crust: Bring crust to room temperature and then gently unroll crust onto an ungreased 9-inch pie pan (preferably a glass pan so that you can see the bottom of crust to make sure it’s not burn and/or burning). Press against sides and bottom of pan. Partially bake pie crust for about 5-7 minutes or until just beginning to firm and brown (this will help crust cook evenly and not be soggy when adding filling). Be sure to check out the tips in the recipe at the bottom of the page before baking.
2. To make the filling: Reduce the oven temperature and whisk together the pie ingredients until smooth and no lumps remain. Pour into the partially baked pie crust.
3. Bake and enjoy: Bake for 50-55 minutes, or until filling is firm. Let cool to room temperature and then refrigerate until ready to serve.
Tips and Tricks:
- Be sure to bring the refrigerated crust to room temperature before baking: This will make it easier to roll onto the pie plate.
- Lightly flour and roll the crust: I like to lightly flour my counter or cutting board and also flour a rolling pin and then gently roll out the pie crust just slightly before putting it onto the pie plate. That way, it fits better.
- Use a glass pie plate: This is helpful so that you can check the bottom of the pie to make sure it’s not burnt (or burning).
- Use pie weights: while it’s not necessary, you can use them when baking the crust to make sure it bakes up evenly. If you don’t have pie weights, an oven-proof bowl, plate, etc. that fits into the crust works well to weigh it down.
- Use canned pure pumpkin: Make sure to use this and not pumpkin pie filling, as the two are not the same.
- Keep an eye on the oven times: So the pie doesn’t over-bake and crack in the middle. The filling should be firm around the edges but have a slightly jiggle in the middle.
- To prevent excess browning of the crust: cover the sides of aluminum foil when ready to bake.
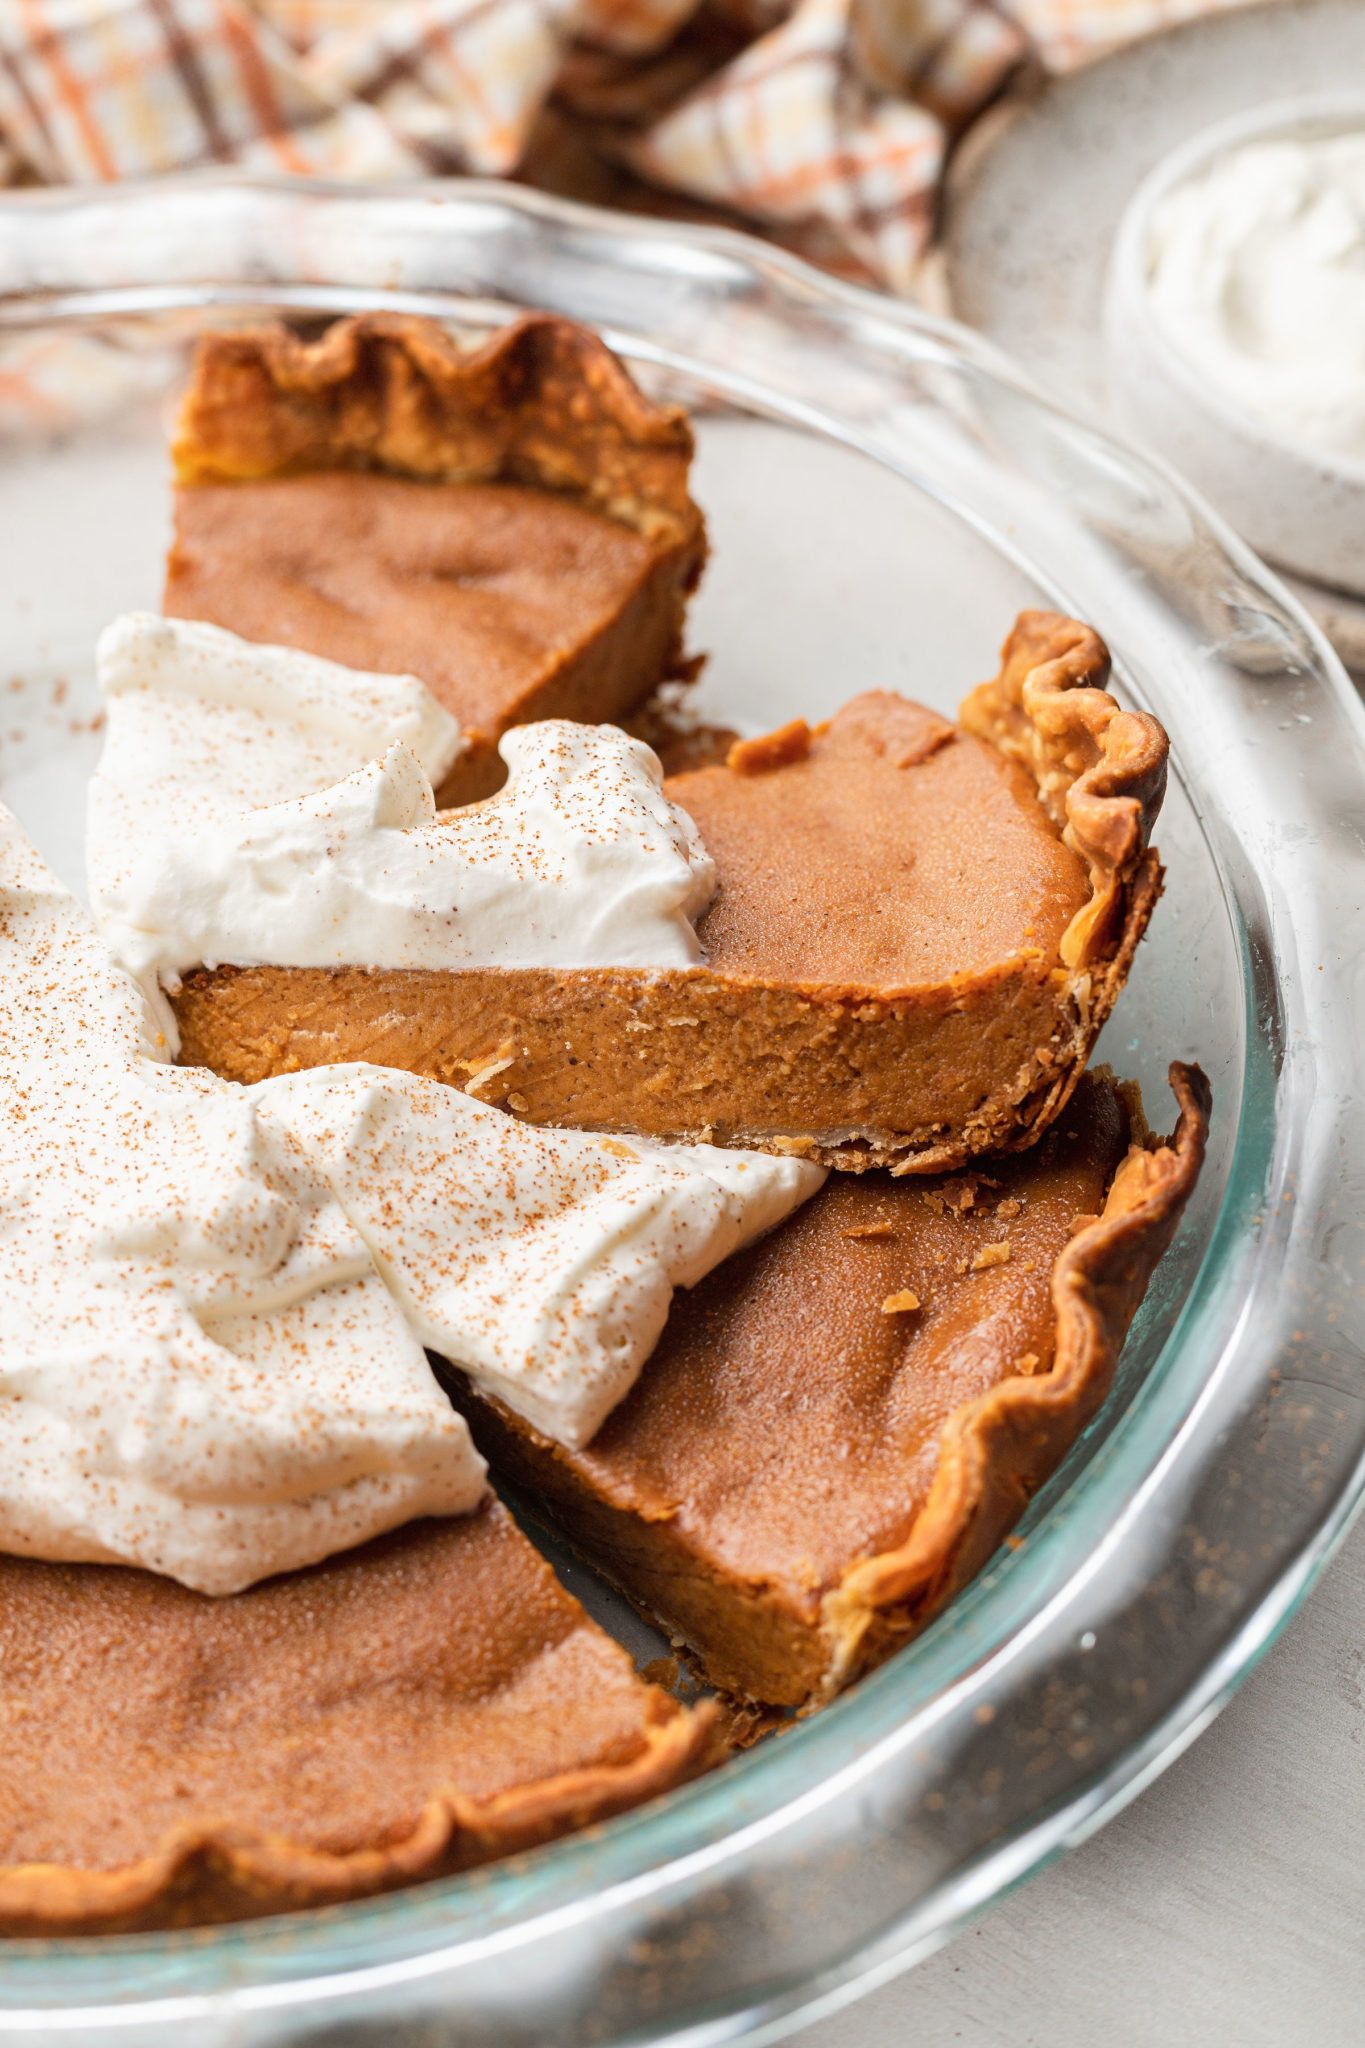
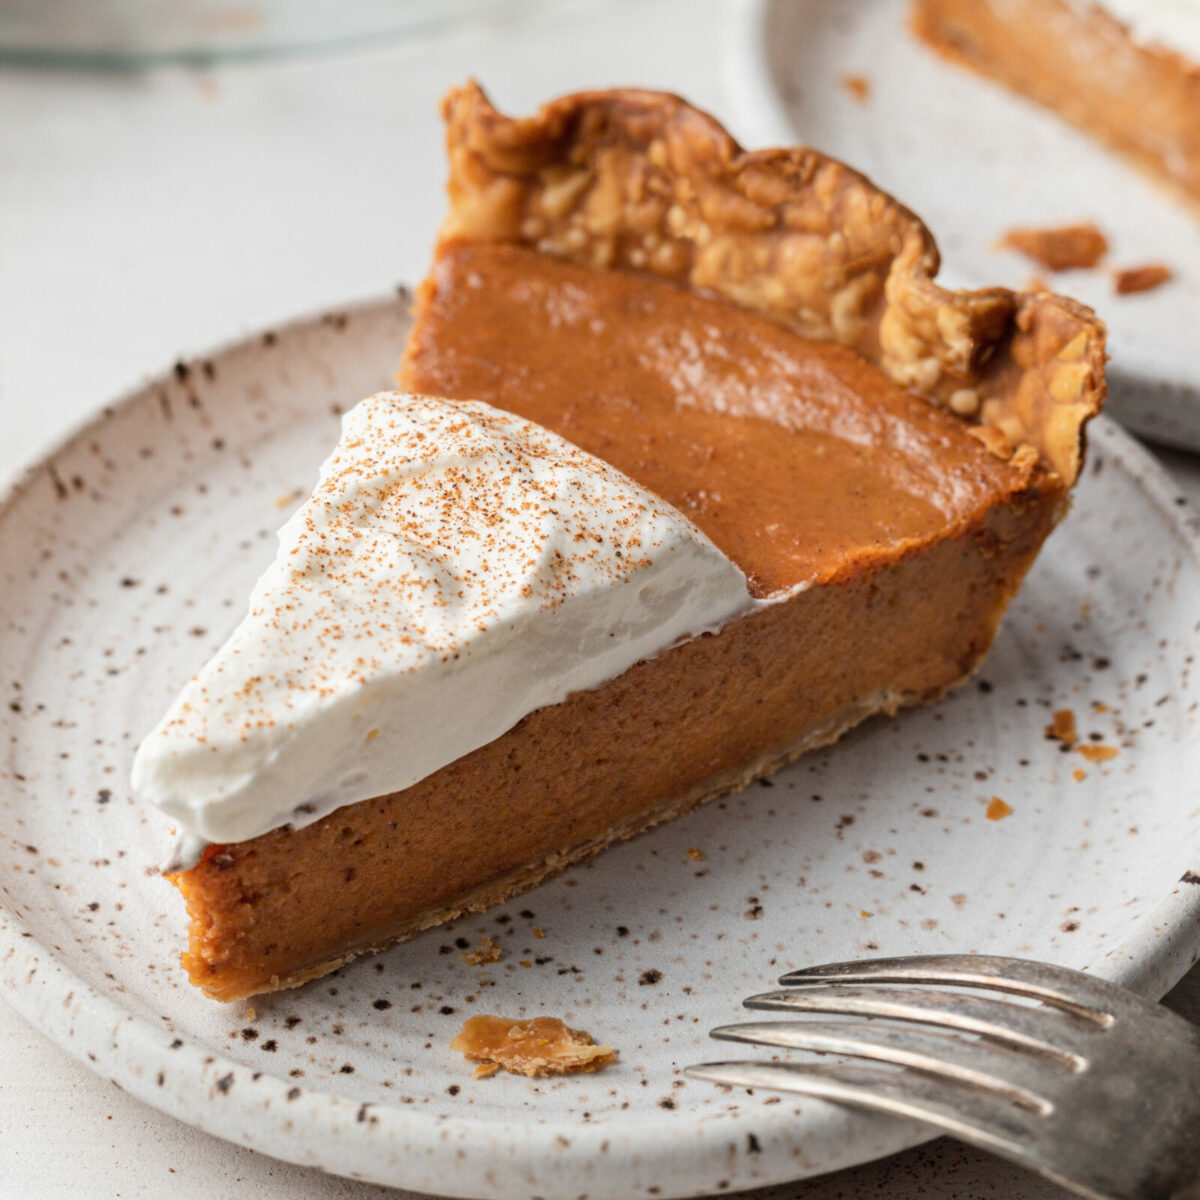
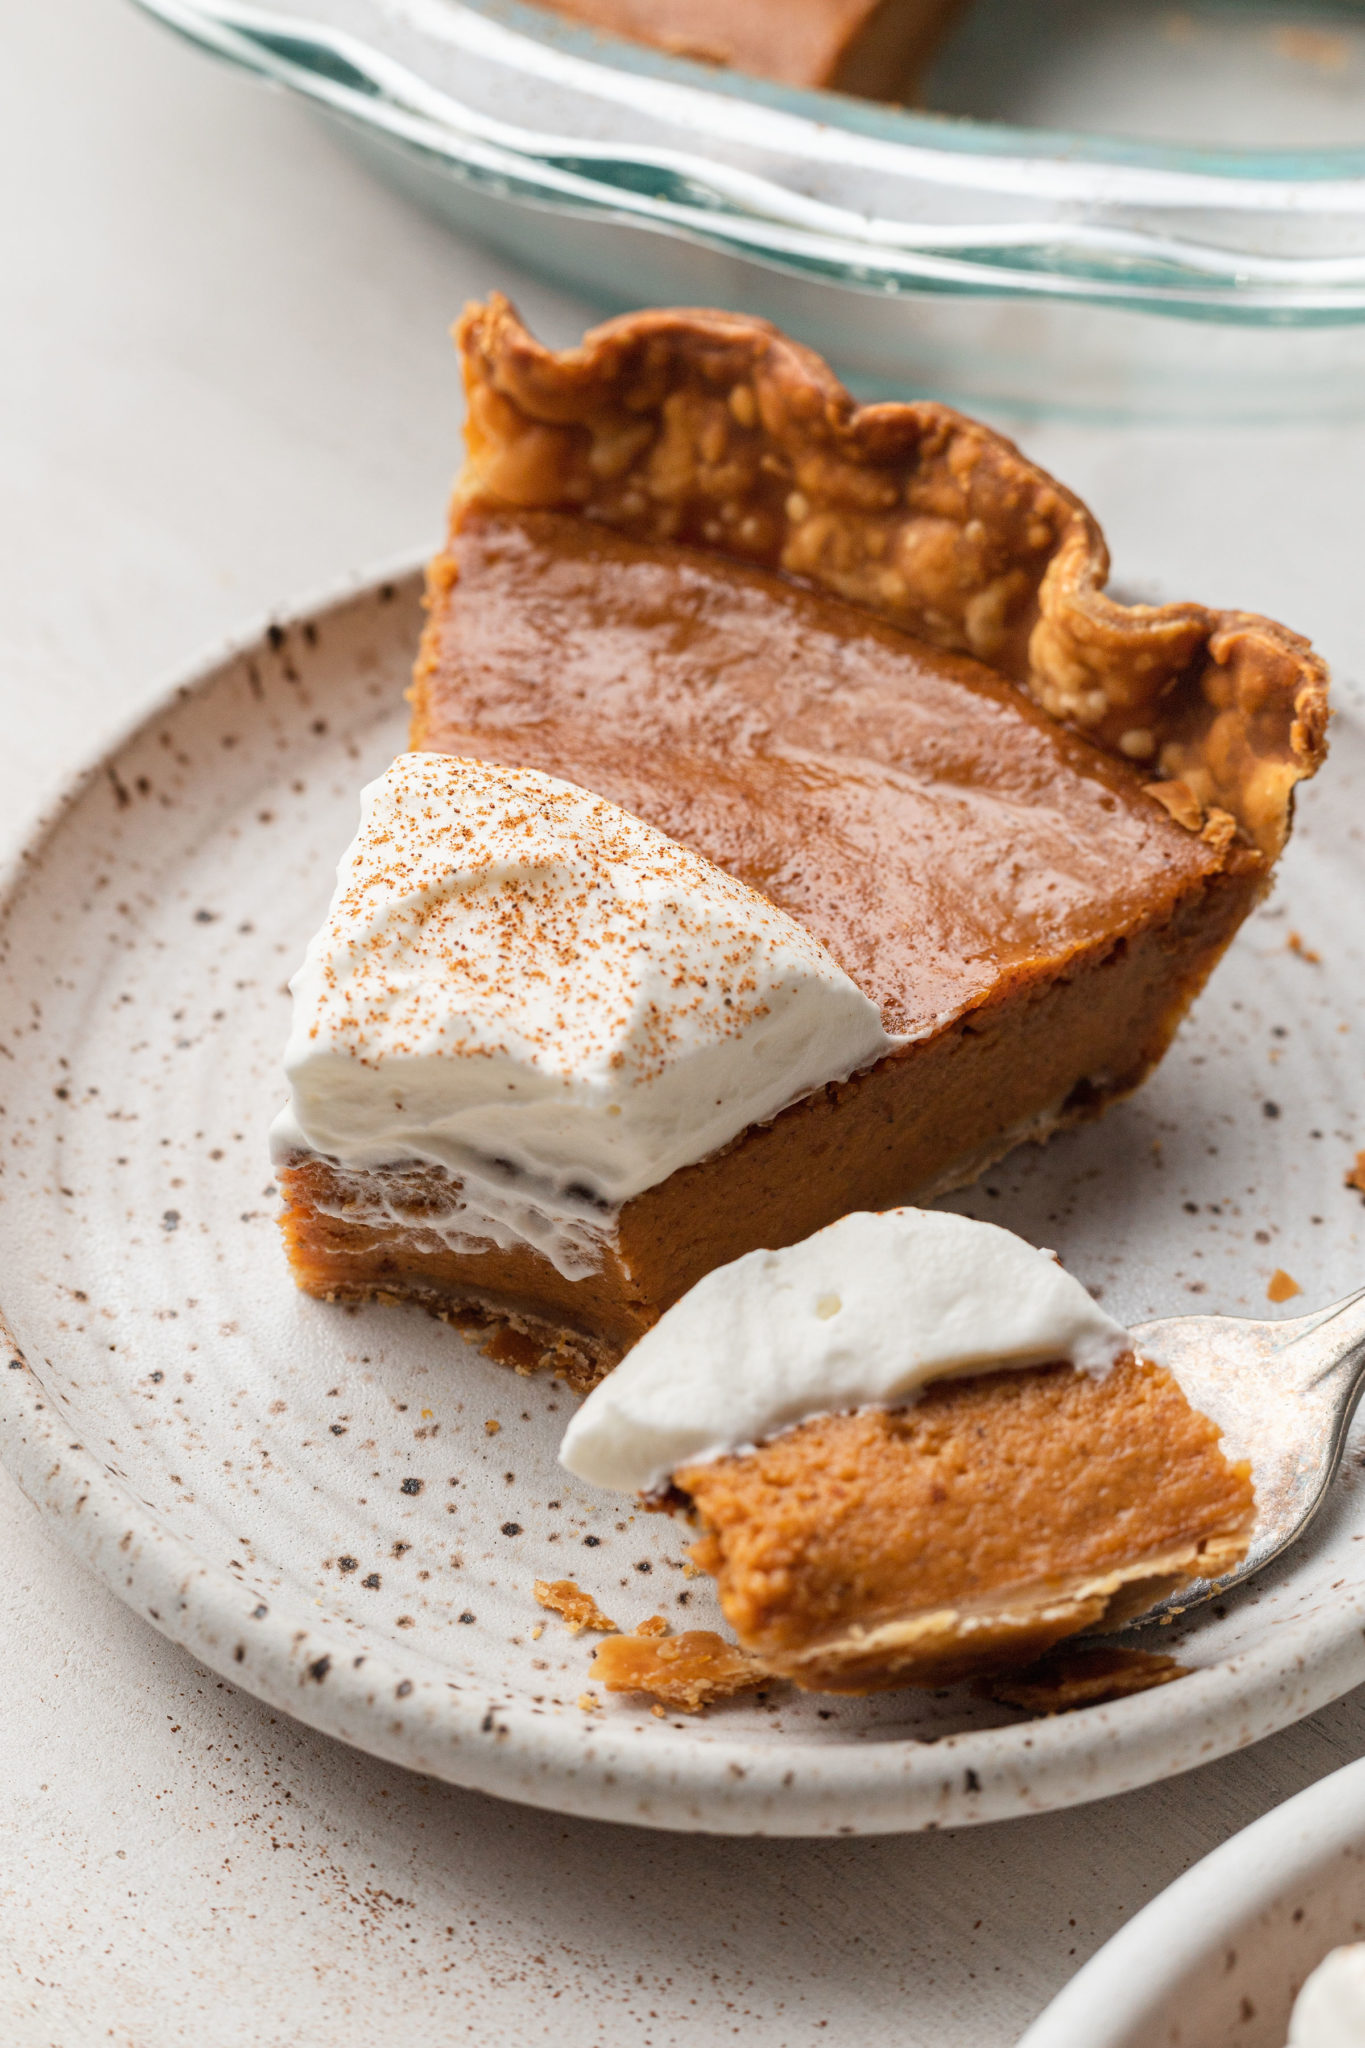
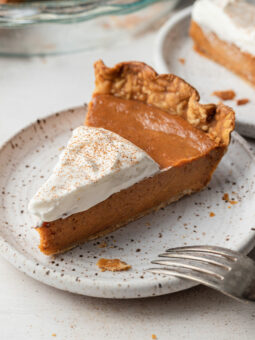
How to Serve:
I love serving this pie with a generous dollop of homemade whipped cream. If I’m feeling extra indulgent, I’ll top it with a big scoop of vanilla ice cream.
How to Store:
Once cooled, cover the pie tightly with plastic wrap and store it in the refrigerator. It’ll stay fresh for up to four days.
Can You Freeze This Eggless Pie?
Absolutely! Let the pie cool completely to room temperature and then wrap tightly with plastic wrap and aluminum foil to prevent freezer burn. Store in the freezer for up to three months. When ready to serve, defrost in the refrigerator.
Can You Make This Ahead of Time?
Yes! You can make this up to one day in advance and store in the refrigerator until ready to serve.
More Pumpkin Recipes You’ll Love:
- Pumpkin Cheesecake Cookies
- Gingerbread Pumpkin Streusel Coffee Cake
- Spiced Pumpkin Hot Chocolate
- Pumpkin Pie Bites
- Pumpkin Pie Overnight Oats
- Pumpkin Pie Pudding
- Pumpkin Cheesecake Crescent Rolls
- Pumpkin Alfredo Pasta
Eggless Pumpkin Pie
Ingredients
- 1 refrigerated pie crust
- 1 (14 ounce) can sweetened condensed milk
- 1 (15 ounce) can pure pumpkin
- 2 tablespoons cornstarch
- 3 teaspoons pumpkin pie spice
- 2 teaspoons vanilla bean paste (or vanilla extract)
Method
- To prepare the refrigerated pie crust: Preheat oven to 450°F. Bring crust to room temperature and then gently unroll crust onto an ungreased 9-inch pie plate. Tip: I lightly floured my counter and a rolling pin and rolled out the crust just slightly before adding to the pie plate.Press against sides and bottom of pan. Place pie weights (or an oven-proof bowl, plate, etc. like shown in the video) onto crust so that when it bakes, it does not shrink and bubble up. See tip below to prevent the crust from shrinking and bubbling up when baking. Partially bake pie crust for about 5-7 minutes or until just beginning to firm and brown (this will help crust cook evenly and not be soggy when adding filling). Set aside.
- To make the filling: Reduce oven temperature to 400°F. In a large bowl, add sweetened condensed milk, pumpkin, cornstarch, pumpkin pie spice, and vanilla. Whisk until smooth and no lumps remain. Pour into prepared crust. See notes below.
- Bake for 50-55 minutes, or until filling is firm around the edges and has a slight jiggle in the center. Tip: Check the pie during the halfway cooking mark to make sure crusts are not browning too quickly. Let cool to room temperature and then refrigerate until ready to serve.
Video
Notes
- Note: I have tested this recipe many times and most recently made it again on 11/1/2025 and filmed a video…see my helpful notes below. My pie baked for 54 minutes and I covered the crusts with 27 minutes left to prevent excess burning. (Watch the video to see how it turned out!)
- I lightly floured my counter and rolling pin and gently rolled out the crust just slightly before adding it to the pie plate. This way, it fits better and you don’t have to spread the crust as much.
- I highly recommend using pie weights when baking the crust so that it doesn’t shrink and bubble up when baking. Don’t have pie weights? Use an oven-proof bowl or plate that is roughly the same size as the pie and gently place it on top of the crust before baking.
- To prevent excess browning of crust: cover the sides of crust with aluminum foil.
- This pie is sweet (but not overly sweet) because of the sweetened condensed milk, so no additional sugar is needed. Feel free to test the pumpkin mixture before baking…it’s delicious!
- Pie will last in in the refrigerator for up to 4 days.
- See my tips and tricks for making this Eggless Pumpkin Pie above the recipe box.


This was the best pumpkin pie recipe I’ve ever made! I have a new allergy to eggs and wasn’t even sure you could make pumpkin pie without them, but wow, even if I could eat eggs I’d still use this recipe! Thank you!
I’m so glad you enjoyed, Jillian!
Mine didn’t set 😕 it’s very soupy! What’d i do wrong??
Hi Kathy! I have no idea what would’ve gone wrong since I wasn’t in the kitchen with you. Are you sure you used the correct measurements? It’s only one (14 ounce) can of sweetened condensed milk and one (15 ounce) can of pumpkin. The pie shouldn’t have been soupy, especially since it doesn’t really have a liquid to begin with (i.e. no milk, etc). Your oven may need more baking time than 50-55 minutes? Again, I’m not sure what went wrong, I can only assume you added too much condensed milk or pumpkin which would cause excess liquid, but I’ve never had soupy pie before and I’ve made this countless times. So sorry that happened!
My family LOVED this pie! My son is allergic to eggs so I wanted to test this version before I made it for Thanksgiving. It took about 1 hour 5 min to bake in my oven and I covered the crusts so it wouldn’t burn and it was so good. I will definitely be making this for the holidays.
Followed directions and crust was raw on bottom. Blind bake time is too short. Filling didn’t have much flavor. Would not recommend.
I’m sorry to hear that, Christine! Did you bake the crust some before adding the filling? I’ve never had a problem with the crust being underbaked. As for the flavor, I find this to taste exactly like my favorite ‘egg’ pumpkin pie, as it’s sweetened and has that rich, pumpkin flavor.
I made this over the weekend for an early Thanksgiving and everyone loved it! No one had an egg allergy; I just liked the simplicity of this recipe. I followed your tips and the video you shared and covered my crusts so they wouldn’t brown too quickly. I also didn’t have pie weights but put a plate on top of the crust when it baked so it would not bubble up. I had no issues with the pie being soupy or underdone like another reviewer stated. I am making this again for a Christmas party in a few weeks!
I’m so happy to hear that, Steve! I’m glad you found the tips and video helpful.